Difference between revisions of "GitLab server"
| Line 31: | Line 31: | ||
https://mi-linux.wlv.ac.uk/wiki-images/gitlab03.png | https://mi-linux.wlv.ac.uk/wiki-images/gitlab03.png | ||
| + | |||
| + | === Creating your first repository === | ||
| + | |||
| + | When visiting your project's homepage you are presented with some command line Git code that you should use to create your first repository. Please note that you get 2 access options: | ||
| + | |||
| + | * SSH | ||
| + | * HTTPS | ||
| + | |||
| + | We'll look that HTTPS for now, so click the "HTTPS" button near the top. | ||
Revision as of 12:11, 16 February 2015
GitLab server
The University provides every student with a fully working Version Control system called GitLab:
Please note that you should only use this server to store files related to University coursework. Personal or word related files should not be stored on this server.
Getting started
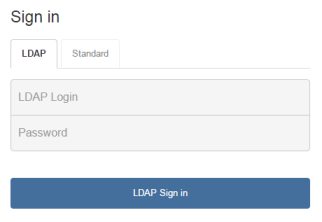
Signing in
You can sign in using your usual university credentials. Make sure that you select the "LDAP" tab on the "Sign in" screen:
Creating a project
Your next step is to create a "Project" that will contain your work. Click on the "+ New Project" button.
And populate the following fields:
- Project Name
- Description
- Visibility Level
Important: The Visibility Level should be set to "Private" for all assessment-related work. Any other Visibility Level would allow other students to look at and clone your work, which equates to Collusion under the University's Academic Misconduct regulations.
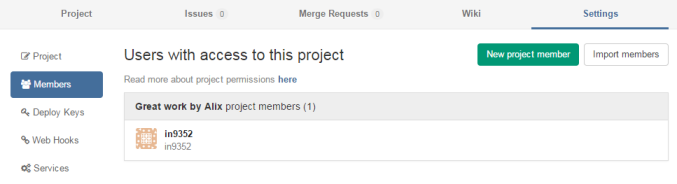
Set the Project's Visibility level to "Private" and then manually invite new project members, via the Project's settings:
Creating your first repository
When visiting your project's homepage you are presented with some command line Git code that you should use to create your first repository. Please note that you get 2 access options:
- SSH
- HTTPS
We'll look that HTTPS for now, so click the "HTTPS" button near the top.