Difference between revisions of "MongoDB Getting Started"
| Line 24: | Line 24: | ||
Once you have been validated, then search for <b>putty</b>: | Once you have been validated, then search for <b>putty</b>: | ||
| − | https://mi-linux.wlv.ac.uk/~oracle/wiki/ | + | https://mi-linux.wlv.ac.uk/~oracle/wiki/putty.png |
<b>Note the software version numbers may differ slightly</b> | <b>Note the software version numbers may differ slightly</b> | ||
| − | |||
| − | |||
| − | |||
Note, you may have to install this for every PC that you use. | Note, you may have to install this for every PC that you use. | ||
Revision as of 10:41, 27 October 2016
Main Page >> MongoDB >>MongoDB Workbook >> Getting Started
Using MongoDB
To access the database, first login to mi-linux.wlv.ac.uk (csl-student.wlv.ac.uk) using your University username and password.
mi-linux can be accessed using a Secure Shell client, such as Putty, that is available using the Apps Anywhere system.
Apps Anyhere
putty is a secure shell client that can be used to access the University's Linux server. It is freely available to download for use at home. When using putty at the University, it is available via the Applications Anywhere software hub: [Apps Anywhere]
Click the Apps Anywhere icon on your desktop:

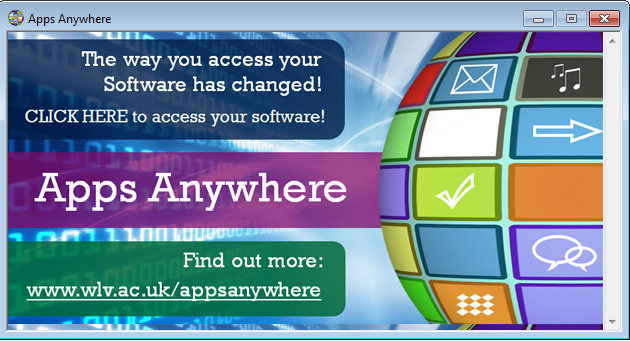
Which will bring up the following window:

Click where it says CLICK HERE.
Once you have been validated, then search for putty:

Note the software version numbers may differ slightly
Note, you may have to install this for every PC that you use.
Starting MongoDB
Once logged in, to start MongoDB run either the following command:
runMongo
or once you have changed your password (see below):
runMongo yourPassword
Changing Password
Once you have logged into MongoDB successfully you can change the default password:
db.updateUser("myStudentNumber",
{
    pwd: "myNewPassword",
 }
);
Replacing myStudentNumber with your University student number and myNewPasswor with your new password.
Note, the function names in MongoDB are case sensitive.
Next Step
MongoDB Overview.